How to change the default agent certificate in HP Anyware for Windows
Before following this tutorial, you need to ensure the following prerequisites are completed:
- Microsoft Enterprise Certification Authority Server is available
- Certificate template to use with the PCoIP Agent has been created. How to create a Certificate Template for the PCoIP Agent for Windows using a Microsoft Certification Authority
- Template has enrollment rights for the Computer Account of the machine requesting the certificate.
- Template has been published on the Certification Authority that is issuing the certificate
- The machine requesting the certificate is joined to the domain.
- User has local Administrator rights on the machine
- Machine's host name is registered in DNS and is resolvable via DNS
- PCoIP Zero Client or Software Client is available to connect
Step 1: Generating a certificate
The following tutorial requests a certificate from a Microsoft Enterprise Certification Authority and configures it for use with the PCoIP Agent.
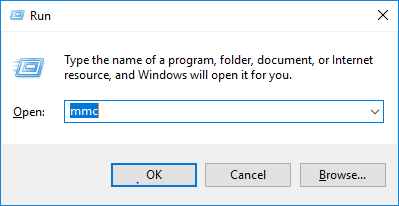
Open the run prompt in Windows. The shortcut Windows + r will open the prompt.
Type mmc.exe

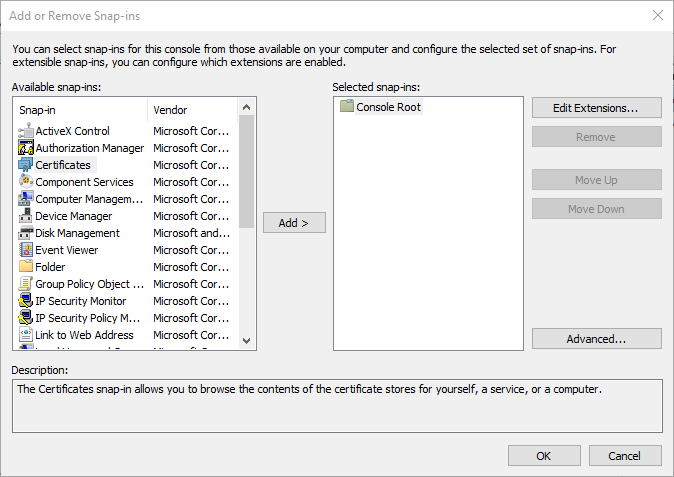
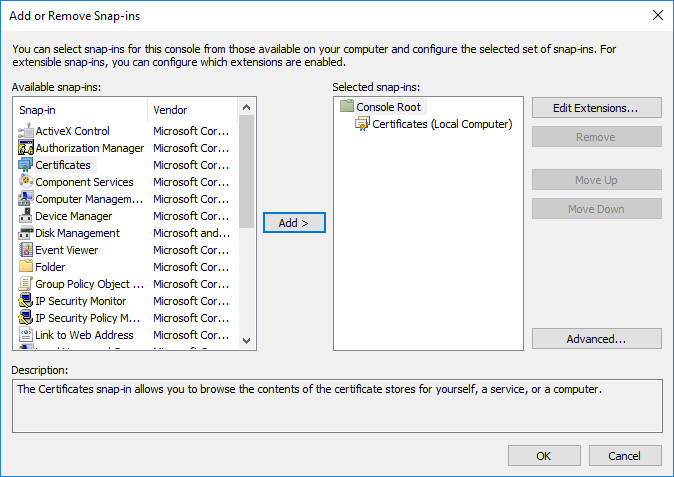
Goto the File menu and select Add/Remove Snap-In ...
Select Certificates and click Add.

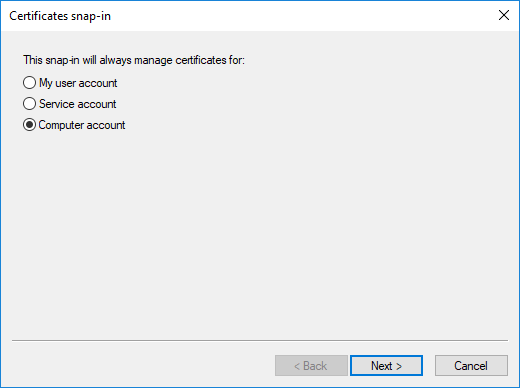
Select Computer account and click Next.

Select Finish on the next screen leaving the defaults.

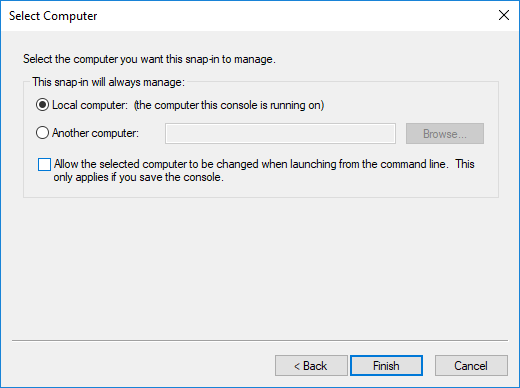
Click OK to add the snap in

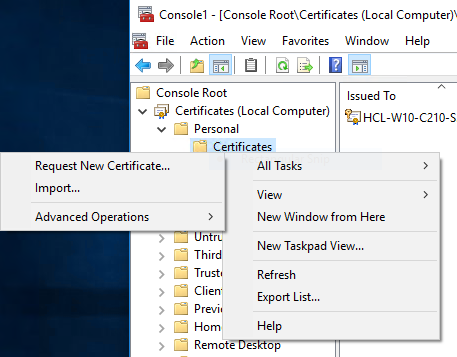
Expand Personal and right click on Certificates. Select All Tasks -> Request New Certificate

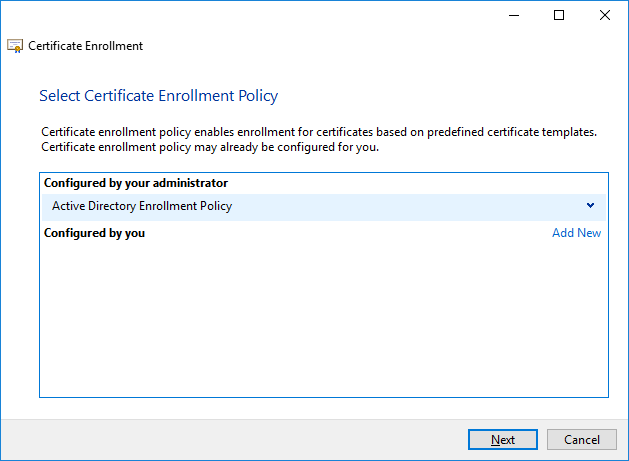
Select Next on the screen.
Select Next to use the Active Directory Enrollment Policy

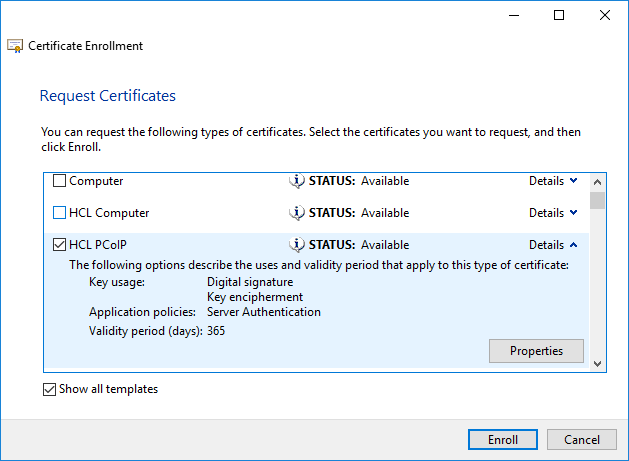
Click on Details next to the Certificate Template you are using. Click on Propertes on the template. In this example the HCP PCoIP template will be used.


On the General tab, set the Friendly name to PCoIP
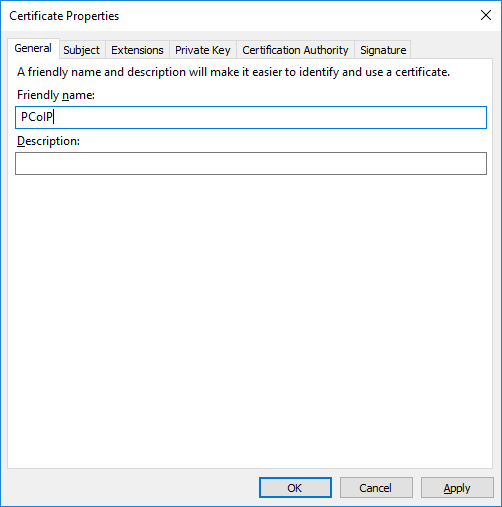

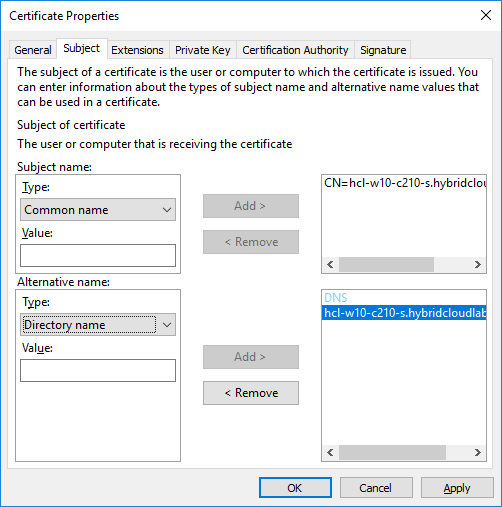
Select the Subject tab. Create the following:
- Under Subject Name, create Type Common Name and in the Value enter the fully qualified domain name of the machine. For example hcl-w10-c210-s.hybridcloudlabs.com. Click Add >.
- Under Alternative name:, create Type DNS and in Value enter the same fully qualified domain name of the machine.

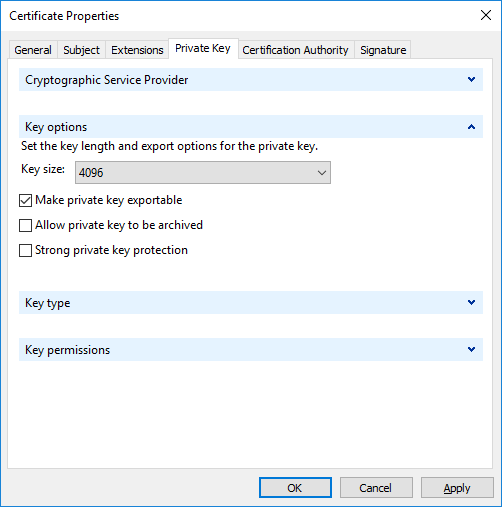
Select the Private Key tab. Ensure Make private key exportable is selected. Click OK.

Click Enroll.

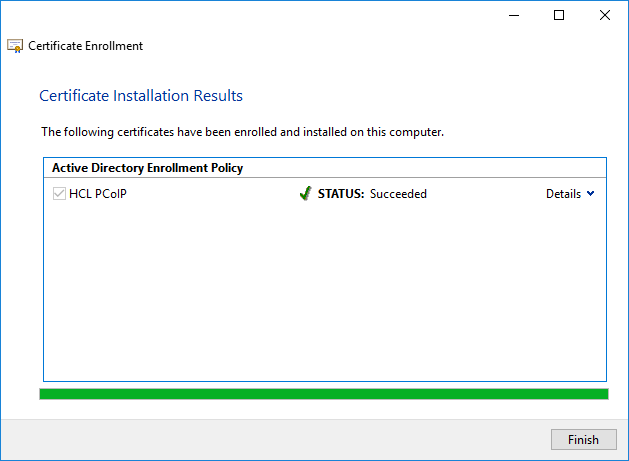
Ensure the enrollment was successful and click Finish.

You can now see in the console the freshly created certificate with the friendly name of PCoIP. The friendly name is how the agent identifies the certificate to use.


Step 2: Configure the PCoIP Agent to use a custom certificate
Configure PCoIP to use the Certificate using the local group policy. For large environments these settings can be changed via Group Policy.
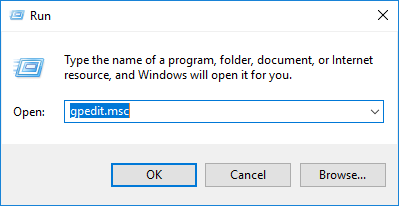
Open the group policy editor. Go to Run and type gpedit.msc

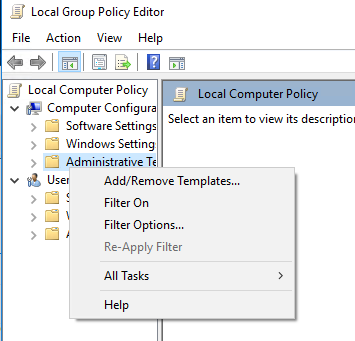
Expand Computer Configuration, Right click on Administrative Tools and select Add/Remove Templates

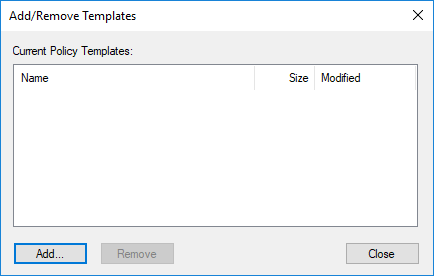
Click Add

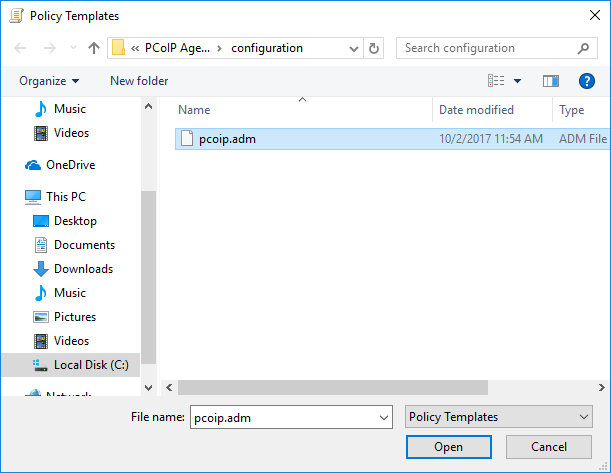
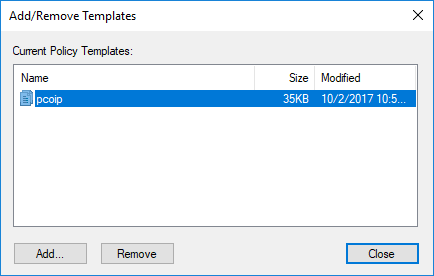
Navigate to C:\Program Files (x86)\Teradici\PCoIP Agent\configuration and open pcoip.adm (pcoip.admx in the latest releases).

Click Close

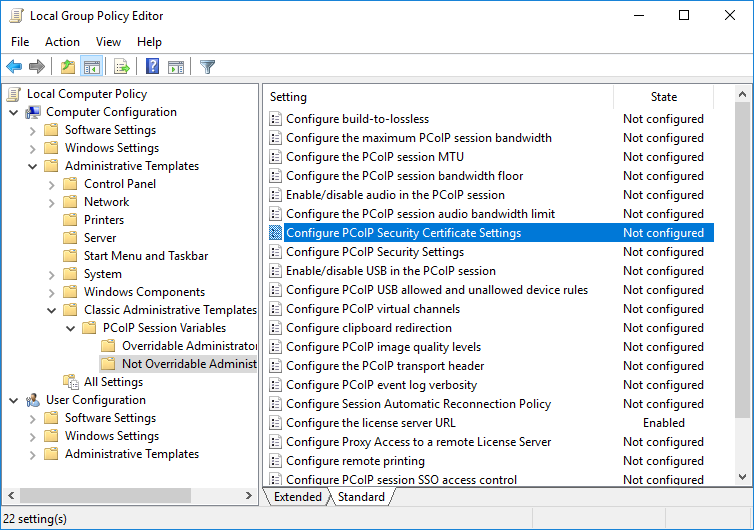
Expand Administrative Templates -> Classic Administrative Templates -> PCoIP Session Variables -> Not Overridable Administrator Settings
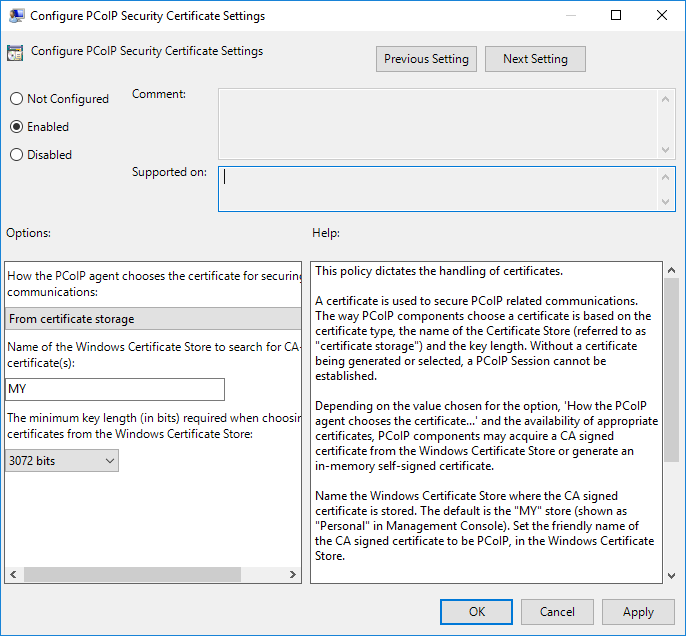
Find Configure PCoIP Security Certificate Settings and double click.

Enable the policy, Select From certificate storage. Leave the default MY for the Certificate Store and select the minimum key length. Click OK

Close the Local Group Policy Editor.
Restart the Machine.
Step 3: Connecting from a client
Software Client
When connecting from the software client the following conditions must be met.
- Software Client certificate check mode is a Warn but Allow or Full verification is required (This later one is the most secure). If the certificate check more is at Verification is not required, the client will always have a red padlock. The Default is Warn but Allow unless the setting has been manually chanced. Please refer to the Software Client Administrators' guide for more information.
- Verification is not required
A red, unlocked padlock icon appears on the client login screen. - Warn but allow
This is the default mode in this release. If a certificate cannot be verified, an 'untrusted server' warning displays and a red, unlocked padlock icon appears on the client login screen. Users still have the option of connecting. - Full verification is required
Users cannot connect unless a certificate can be verified.
- Verification is not required
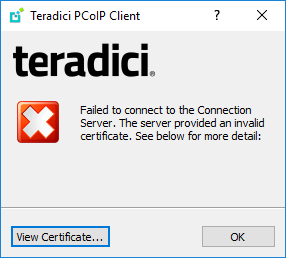
- The Host Address in the client is the fully qualified domain name (FQDN) used as the subject or subject alternate name in the certificate. Use of the IP address or another FQDN will result in this error "Failed to connect to the connection server. The server provided an invalid certificate. See below for more detail.

PCoIP Zero Client
When connecting from the PCoIP Zero Client the following conditions must be met:
- PCoIP Zero Client certificate check mode is a Warn but Allow or Full verification is required (This later one is the most secure). If the certificate check more is at Verification is not required, the client will always have a red padlock. The Default is Warn but Allow but can easily be changed via the Management Console, AWI or OSD.
- Verification is not required
A red, unlocked padlock icon appears on the client login screen. - Warn but allow
This is the default mode in this release. If a certificate cannot be verified, an 'untrusted server' warning displays and a red, unlocked padlock icon appears on the client login screen. Users still have the option of connecting. - Full verification is required
Users cannot connect unless a certificate can be verified.
- Verification is not required
- The Host Address in the client is the fully qualified domain name (FQDN) used as the subject or subject alternate name in the certificate. Use of the IP address or another FQDN will result in this error