Enable SSO for Anyware Manager using Okta IDP with OKTA VERIFY.
Prerequisites
- Anyware Manager 23.04 or later
- HP PCoIP Client version 23.01.0 or later
- An Identity Provider that supports OAuth2
- Access to Anyware Manager (Installable) or Anyware Manager as a Service
- Ubuntu Connector v147 or later with access to an Identity Provider
- Need an account on OKTA to setup a Oauth.
Tested Environment
- Anyware Manager (Installable) - Version 23.08
- Anyware Connector (Rocky) - Version 23.12
- Anyware Connector (Ubuntu) - Version 18.04
- Windows Server 2019 (Testing is in progress with Linux (Ubuntu and Rocky)
- Windows Agent - Version 23.12
- IDP OKTA
- APPLICATION - OKTA VERIFY
Before you start preparing for Single Sign-On, ensure that you configure an IDP to enable Federated Authentication. We recommend configuring Okta or Azure Active Directory as your identify provider.
For detailed guidance on configuring Okta IDP, refer to the documentation on Configuring Okta IDP.
Similarly, for insights into Azure Active Directory configuration, consult the documentation on Configuring Azure Active Directory.
Single Sign-On configuration empowers users to access their desktops after authenticating just once. This authenticated session not only grants access to their desktop list but also facilitates logging into remote workstations seamlessly.
Enrollment Options
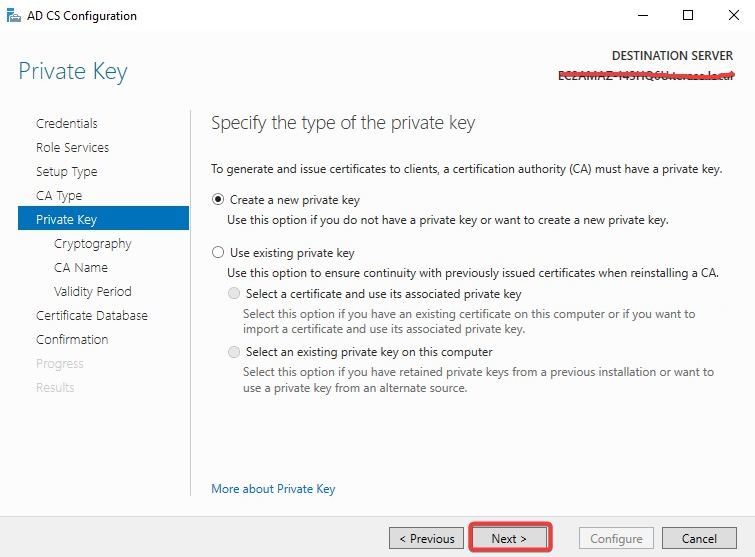
To enable Single Sign-On, the Connector needs to acquire or generate a certificate for providing to the PCoIP Agent for user login. Two methods are available for achieving this:
- Active Directory Certification Authority Web Enrollment
- Using the private key and certificate of the Certification Authority
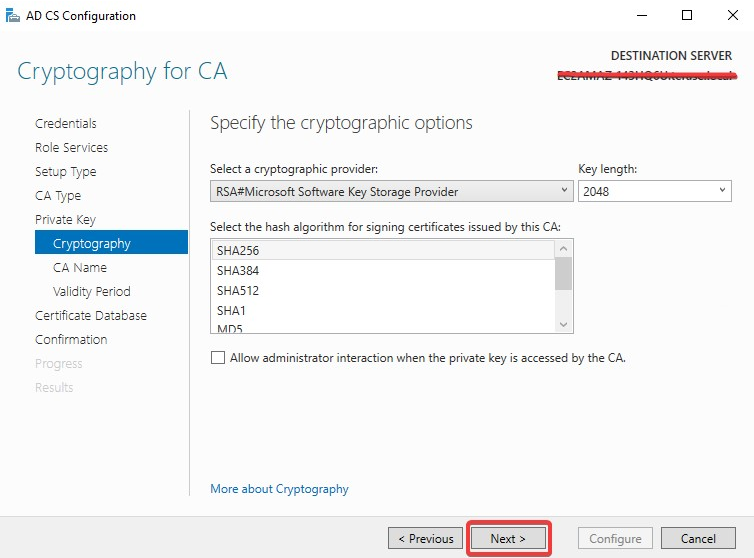
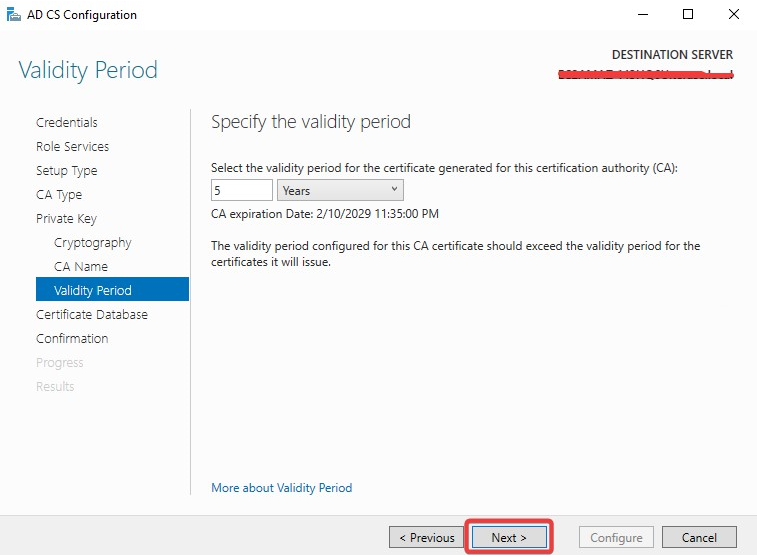
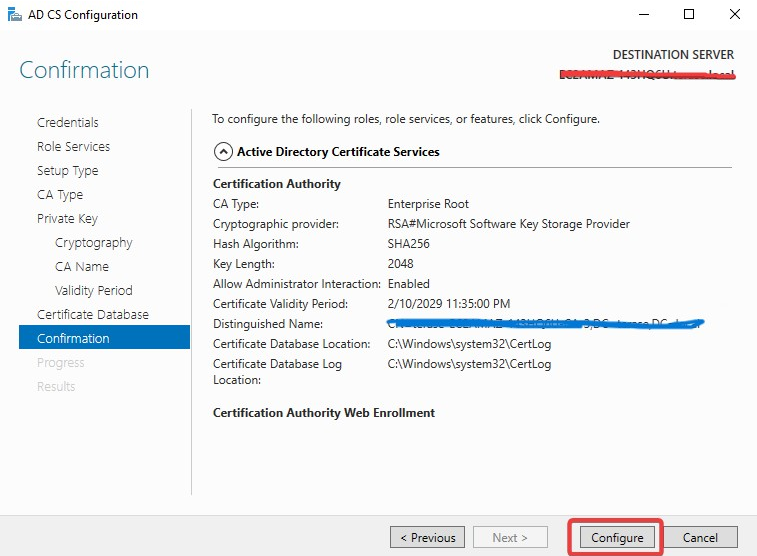
Set up Active Directory Certification Authority Web Enrollment
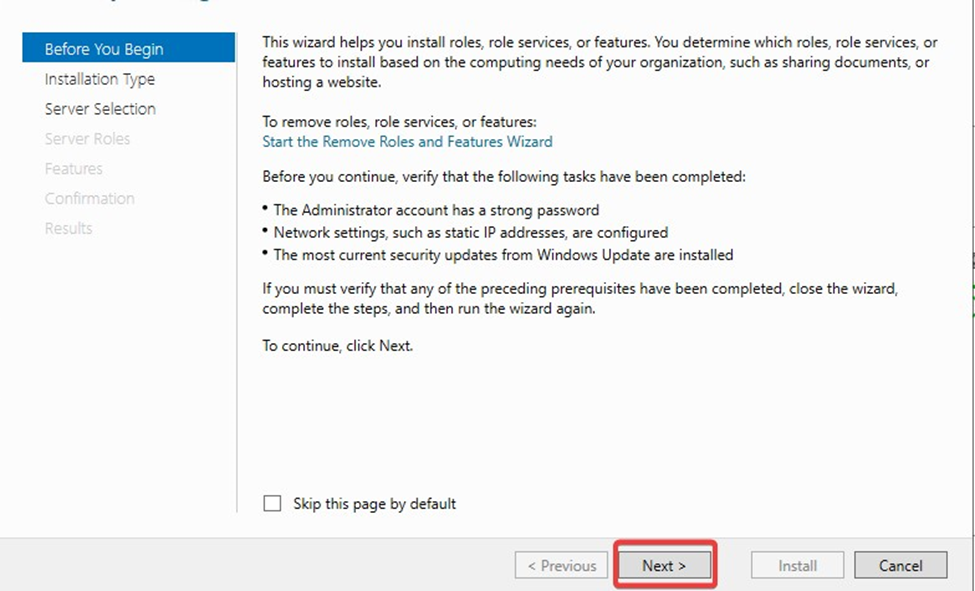
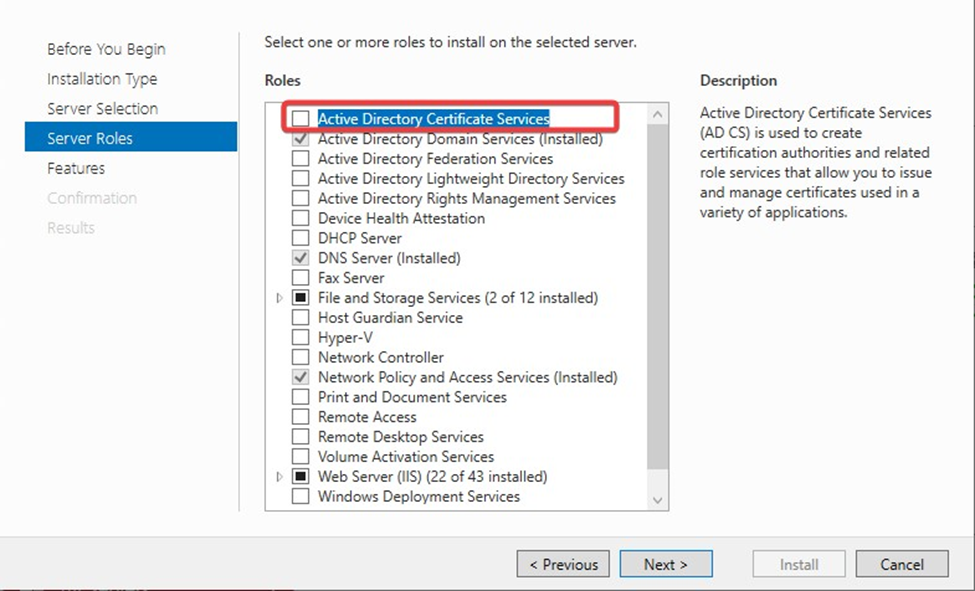
To initiate the process, navigate to the Server Manager window on the Windows Server machine where the Certification Authority is installed. Then, proceed to select "Add roles and features."

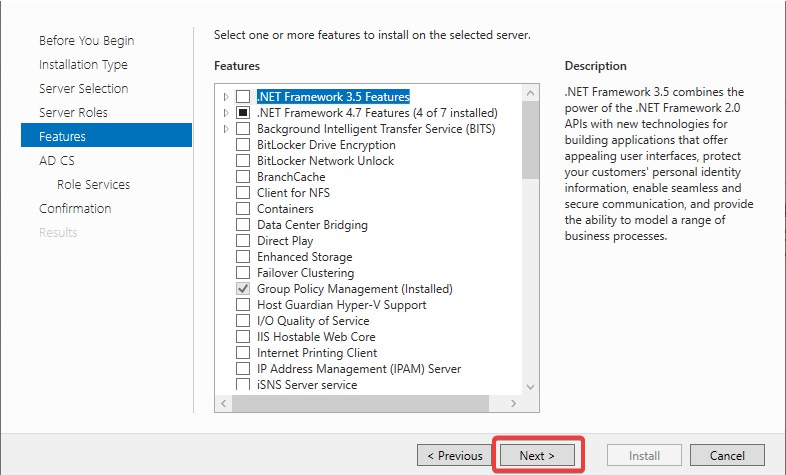
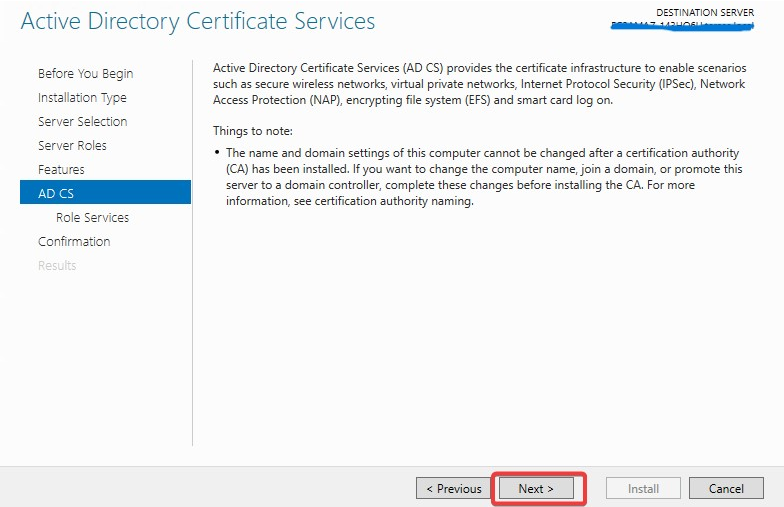
Click Next on the Before you begin window.
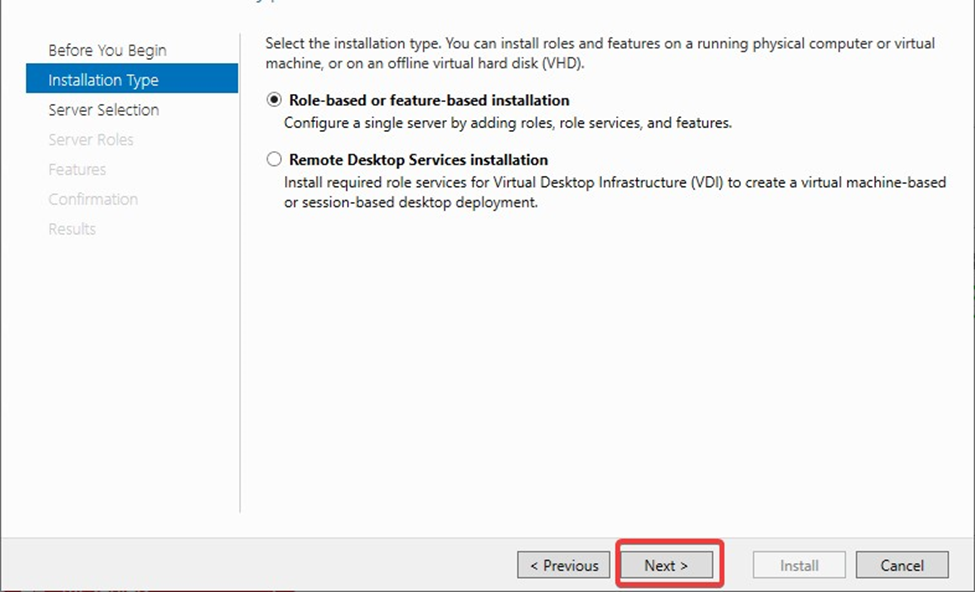
Select Role-based or feature-based installation on the Installation Type page.
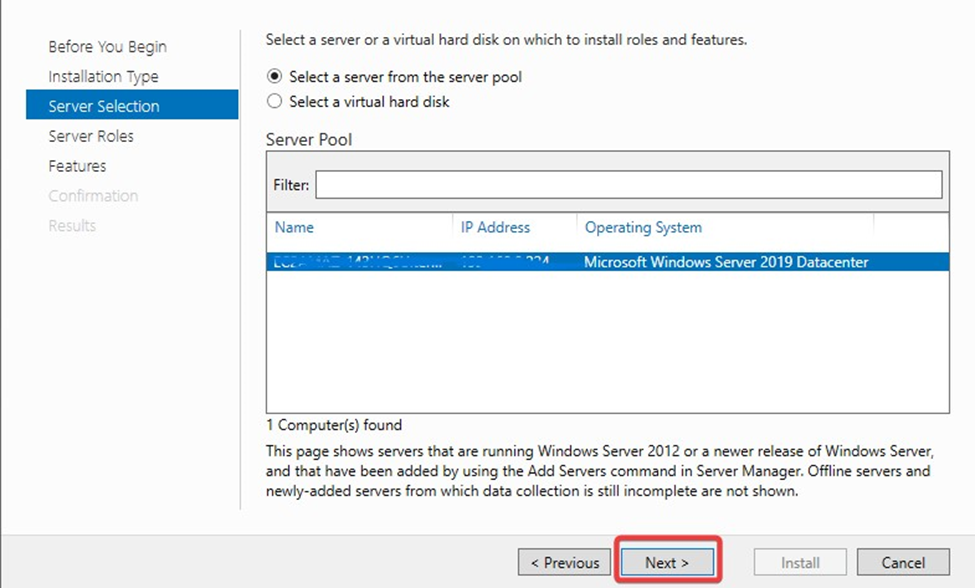
Select a server from the server pool and press Next.
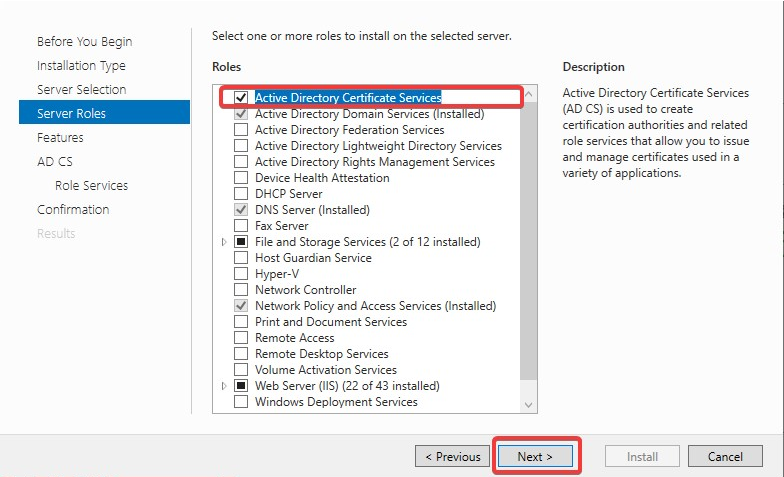
On the Server Roles page, select Active Directory Certificate Services and Click Next.
Click on Add Features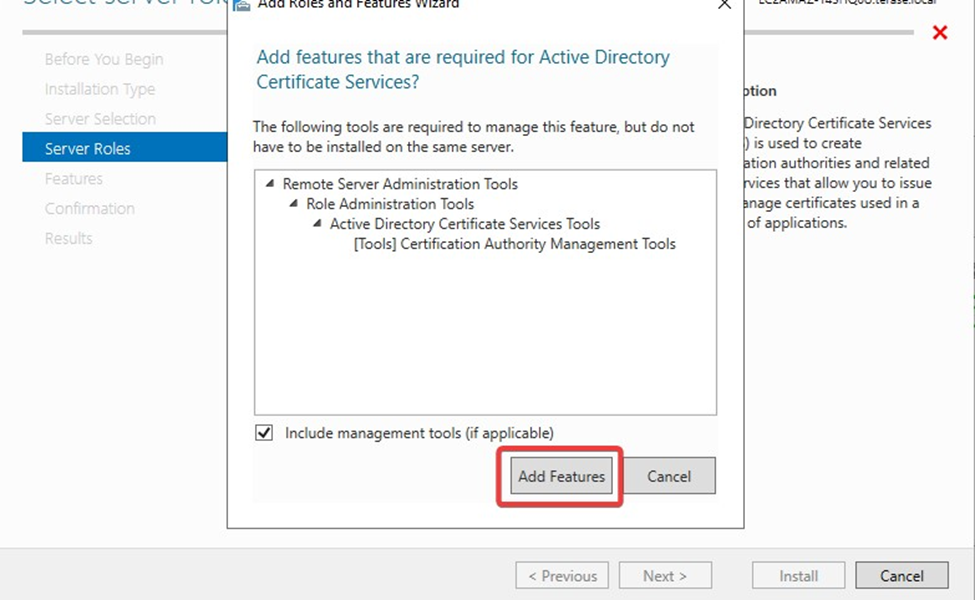
Make sure Active Directory Certificate Services and Certificate Authority Web Enrollment both are selected
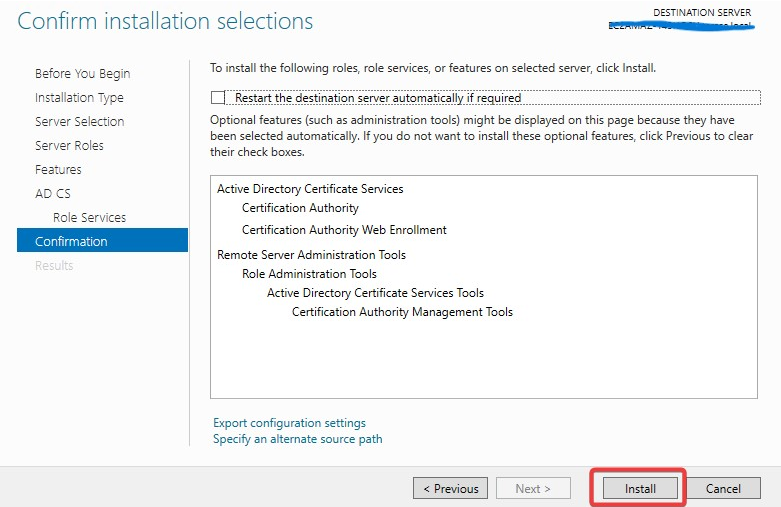
On the Confirmation page, select Restart the destination server automatically if required and press Install.
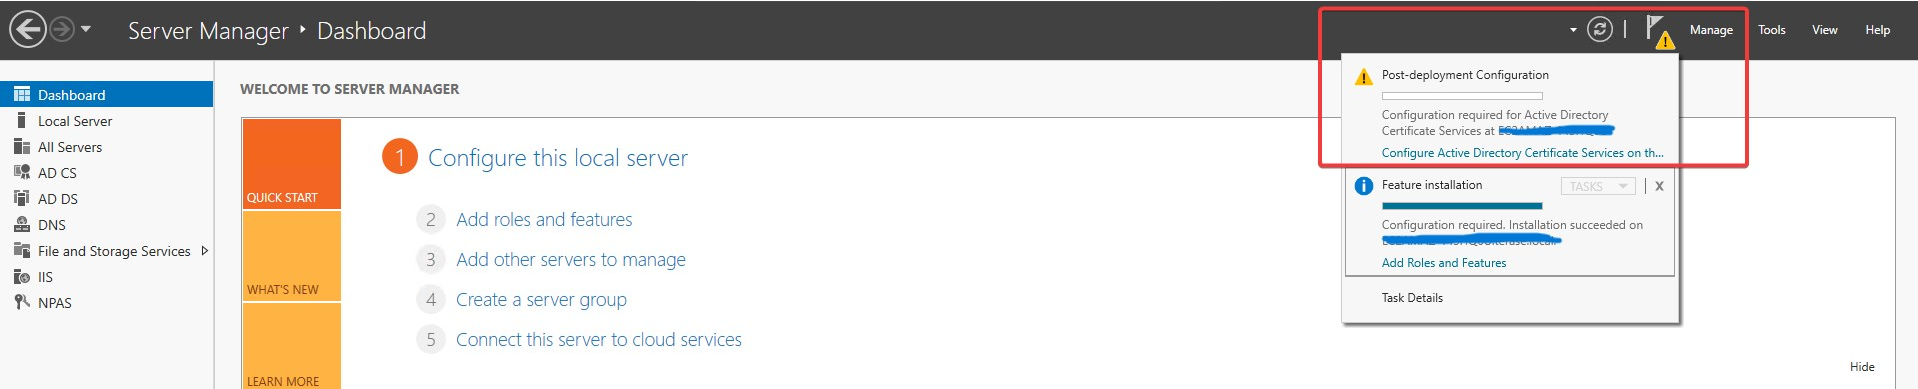
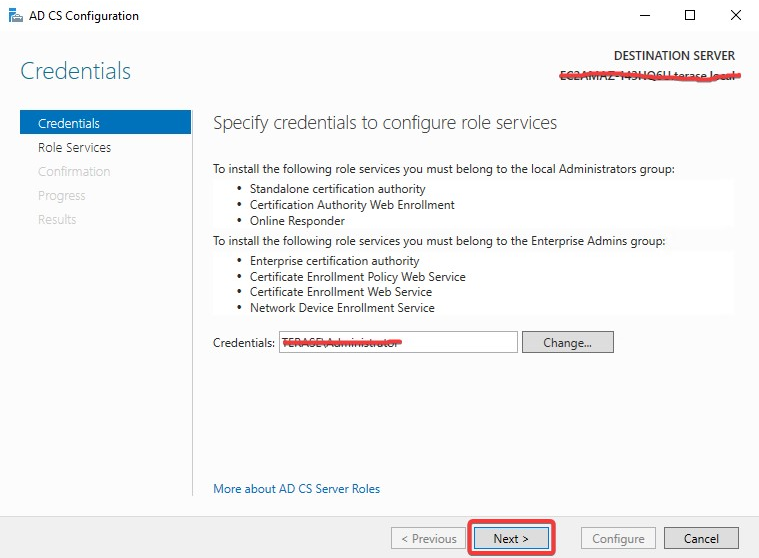
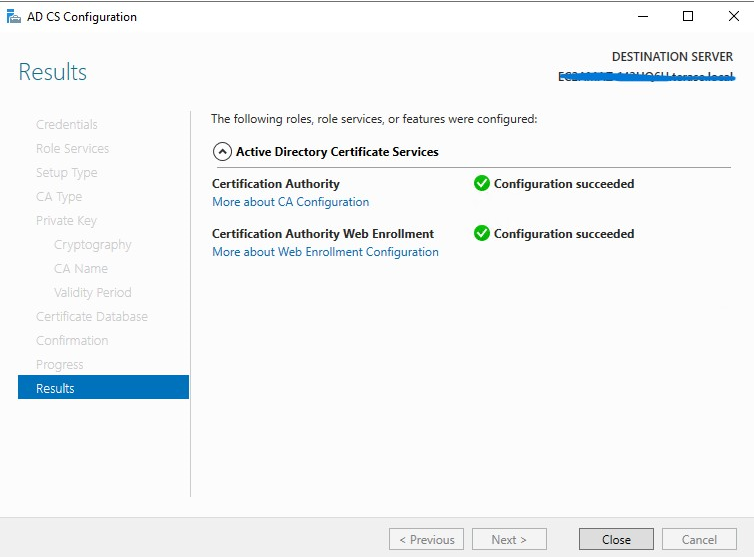
After installation, go to the notification tab and click Configure Active Directory Certificate Services.
On the Credentials page, input the Credentials and click Next.
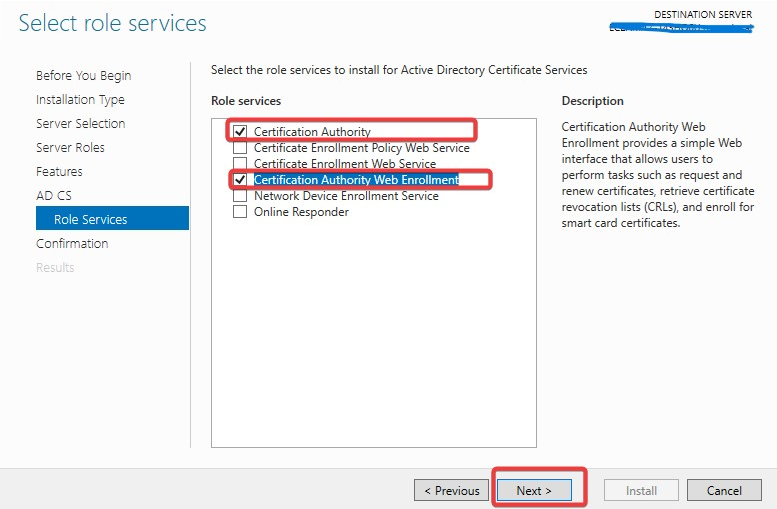
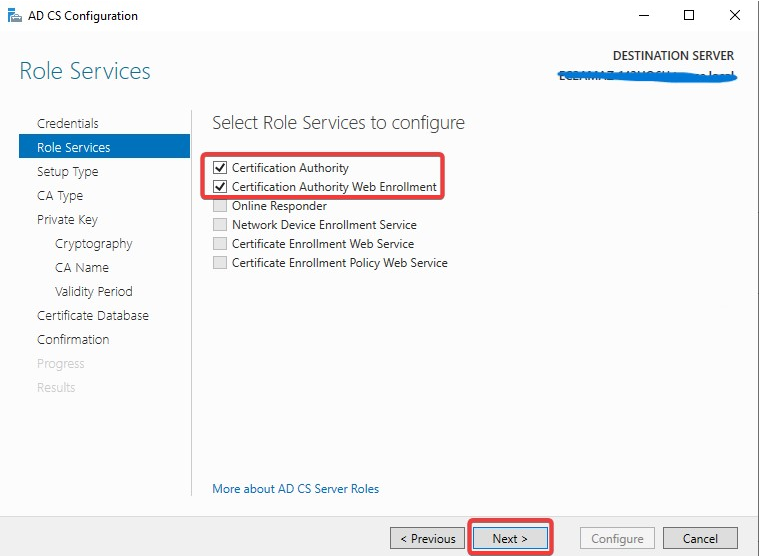
On the Role Services page, select Certification Authority Web Enrollment and Click Next.
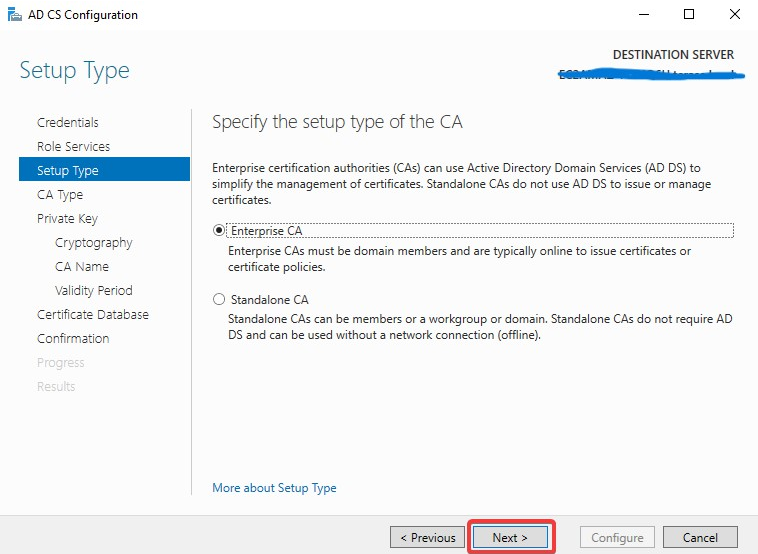
Specify the setup type of the CA
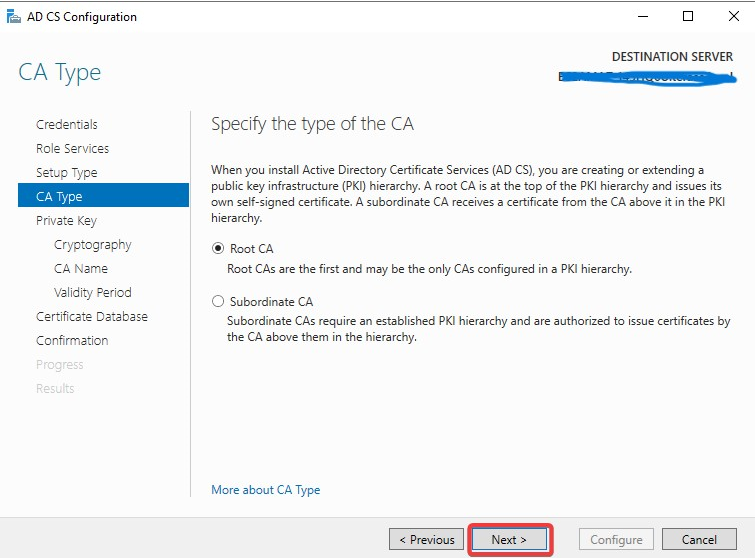
If you already have the old private key please use the 2nd option.
On the Confirmation page, click Configure to finish configuration.
Create Certificate Authority Template
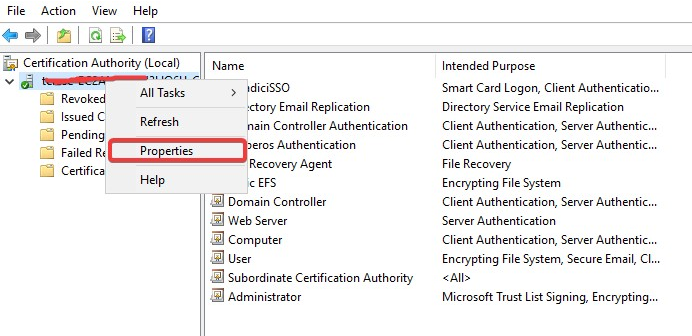
Log on to the Certificate Authority resource.
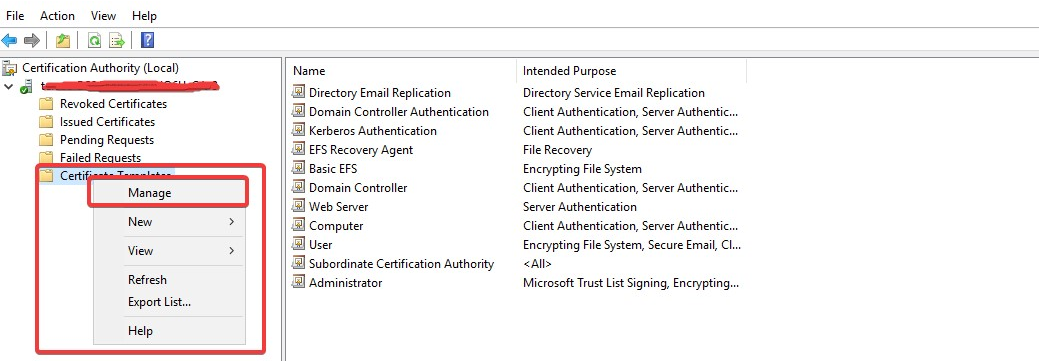
Open Certificate Authority MMC (certsrv.msc).
Right click the Certificate Templates and select Manage.
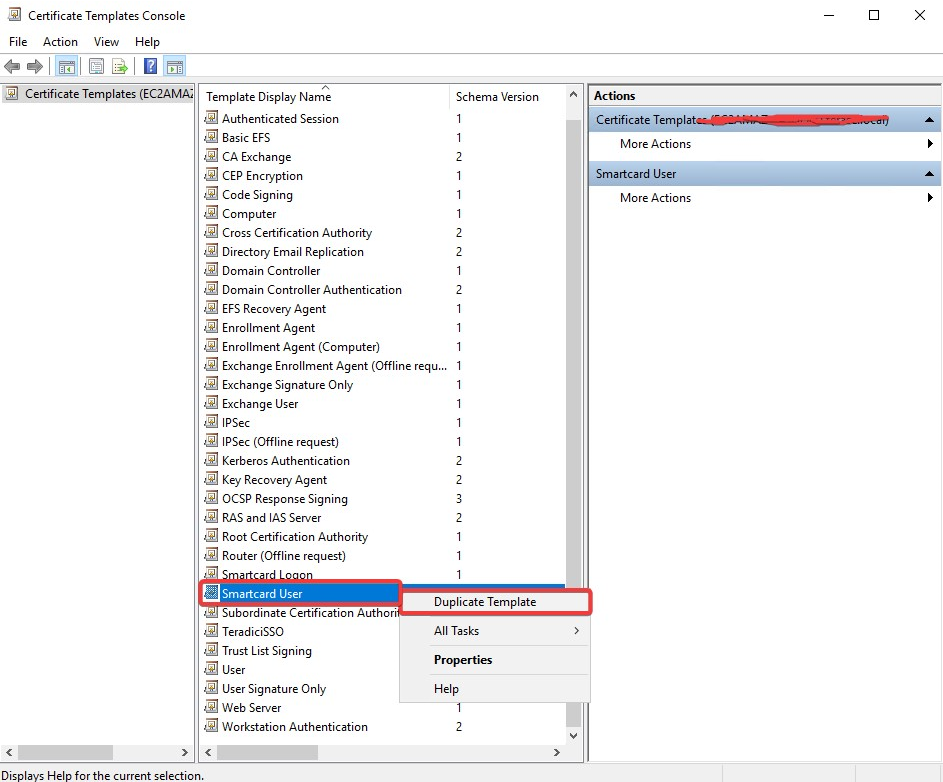
Certificates Templates Console window is now open. Right click Smartcard User and select Duplicate Template.
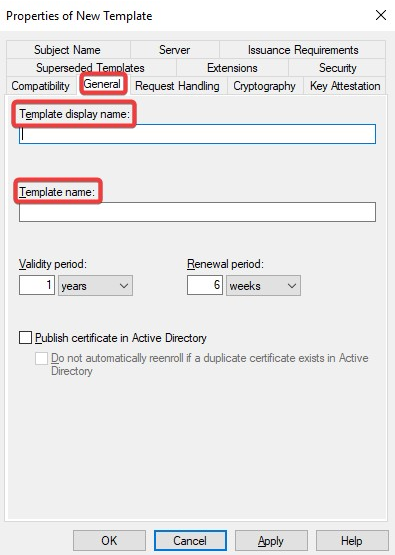
Navigate to the General tab and rename the template to a desired name and take note of the name as it is required during Connector installation. Change the Validity Period and Renewal Period to minimum such as 1 hours and 0 hours respectively.
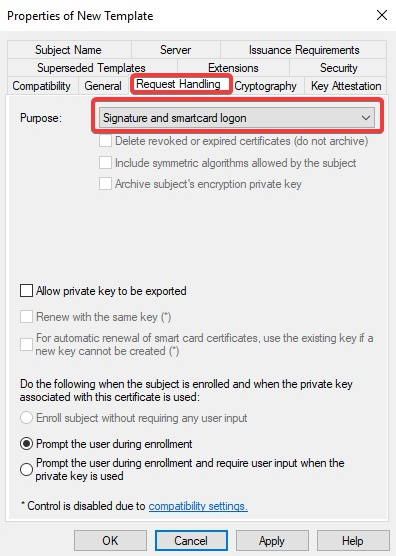
Navigate to Request Handling tab and change the purpose to Signature and smartcard logon. The Certificate Templates information box appears. Click Yes to close it.
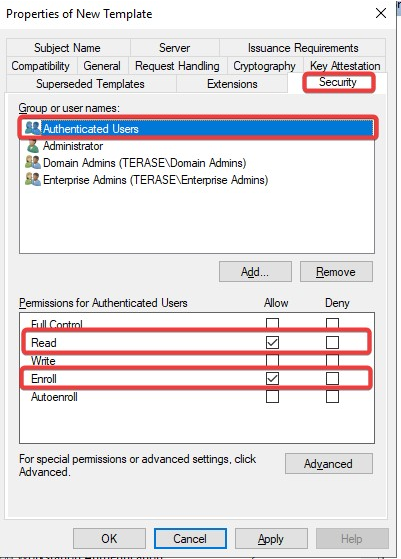
Navigate to Security tap and select Read and Enroll as Allow for Authenticated Users.
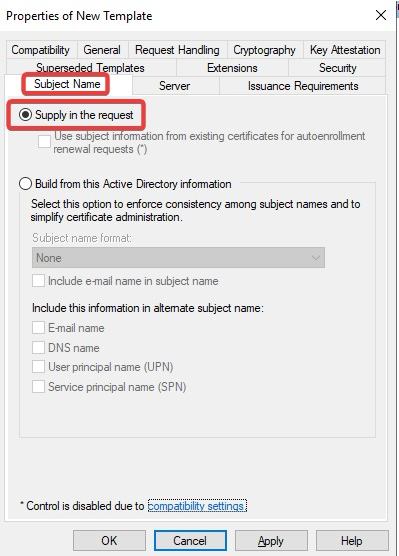
Navitage to Subject Name tab and select Supply in the request. A warning text box appears and click OK to close the warning text box.
Click Apply and then OK to finish creating the template.
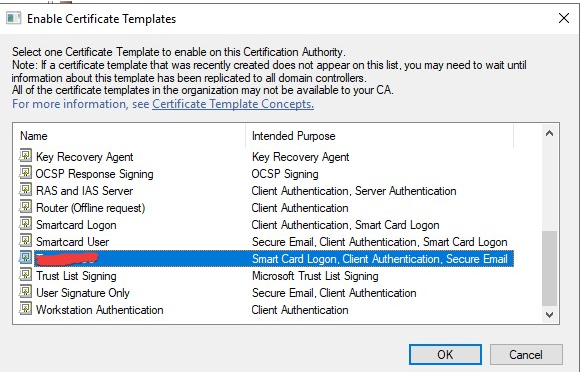
Right click the Certificate Templates, select New and click Certificate Template to Issue.
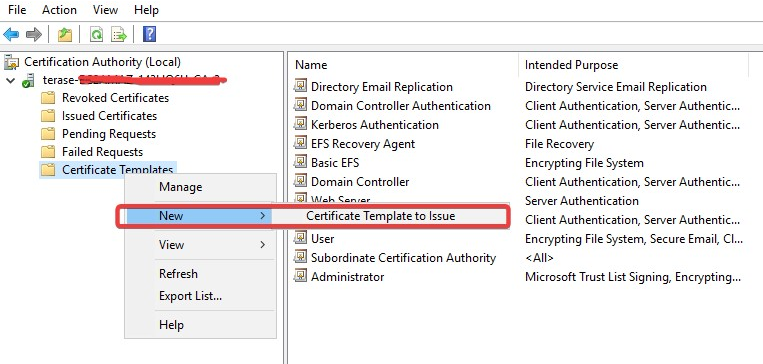
Select the template created above and click OK to add the template to CA.
To grant permission for requesting certificates, follow these steps:
- Log in to the Domain Controller and open Active Directory Users and Computers.
- Navigate to the designated domain (replace "$Domain" with the actual domain name) and select "Users."
- Right-click on "Users," choose "New," and then click on "User."
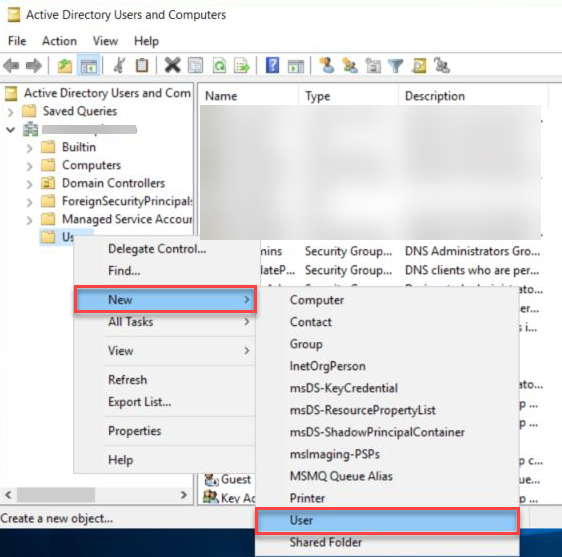
• Provide the necessary details like First Name, Last Name, User Logon Name, etc., and proceed by clicking "Next."
• Set the password for the user and proceed by clicking "Next."
• Take note of the username and password as they are essential during Connector installation.
• Click on "Finish" to finalize the user creation process.
Grant the user permission to request a Certificate by following these steps:
- Log in to the Certificate Authority machine.
- Open the Certificate Authority MMC (certsrv.msc).
- Right-click on the CA and select "Properties."
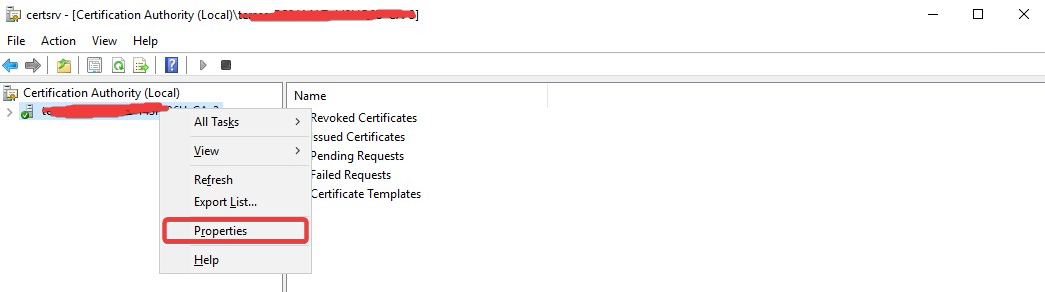
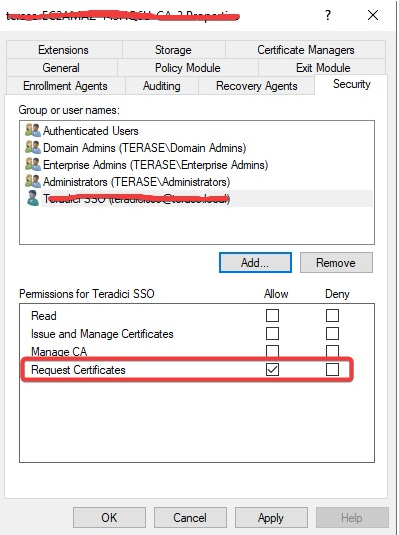
- Navigate to Security tab and click Add... and add the user created above.
- Ensure the user added is allowed to Request Certificates.
Using the private key and certificate of the Certification Authority
Working with your Certification Authority (CA) you will need to obtain:
- Certificate of Intermediate CA
- Private Key of Intermediate CA
- Certificate Revocation List (CRL) file of the Intermediate CA
Export private key and certificate of the Intermediate Windows CA (Microsoft Windows Server 2019 Datacenter)
- Log on to the Certificate Authority resource.
- Open Certificate Authority MMC (certsrv.msc).
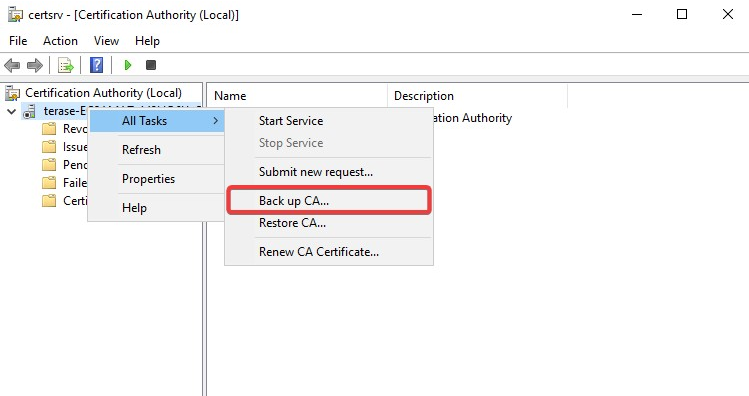
- Right-click the CA in the tree, select All Tasks and click Back up CA.
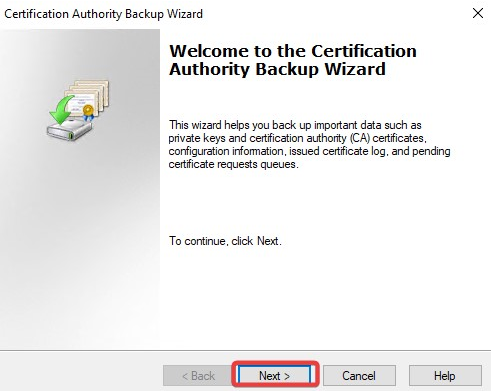
- In the Certification Authority Backup Wizard window, click Next.
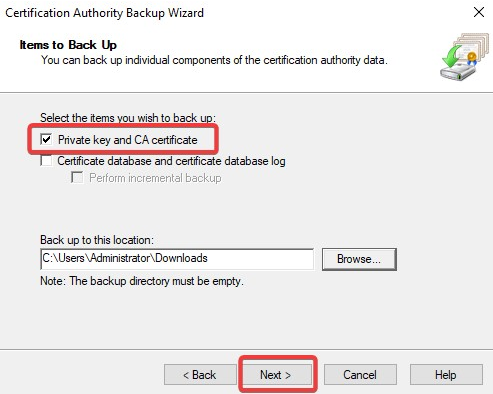
- In the Items to Back Up section, select Private key and CA certificate and click on Browse... to choose a location to save the file. Click on Next to go to next step.
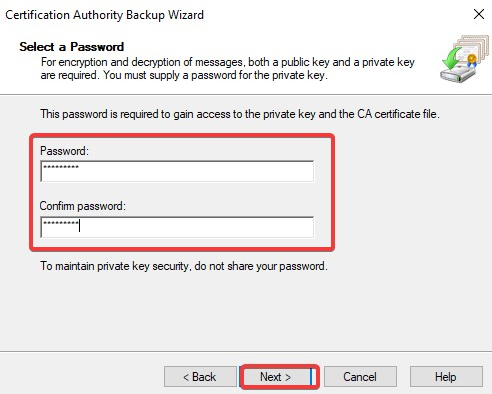
Click Finish to finish exporting the private key and certificate of the CA. Note: The private key and certificate are in a single p12 file.
Extract the private key and certificate from p12 file:
On a resource such as Linux VM that has openssl available:
Export and copy the p12 file to a virtual machine that has the Connector/Connection Manager installed. You can transfer the file using a USB flash drive or SCP (WINSCP)
Extract private key with openssl. Run the following command and enter password when prompted:
openssl pkcs12 -in certificate.p12 -nocerts -nodes -out certificate.key
Extract certificate with openssl. Run the following command and enter password when prompted:
openssl pkcs12 -in certificate.p12 -clcerts -nokeys -out certificate.crt
Locate Certificate Revocation List (CRL) file of the Intermediate Windows CA (Microsoft Windows Server 2019 Datacenter)
Perform the following steps:
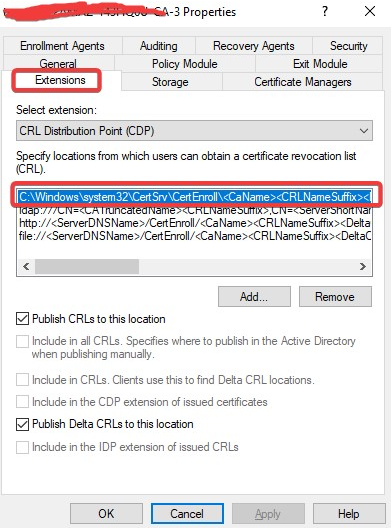
- Log on to the Certificate Authority resource, run certsrv.msc from command line to launch Certification Authority.
- Right click the CA name and select Properties.
Select the Extensions tab, and take note of the .crl path. In this example, it is C:\Windows\System32\CertSrv\CertEnroll\<CA name>.crl.
After you have obtained the files, they should be uploaded via SFTP (using a tool such as SCP) to your Connector and ensure that they are available for future configurations.
Once you setup the Active Directory Certification Authority Web Enrollment or private key and certificate of the Certification Authority Please go head and update the connector for sso.
SSO Configuration for Connectors using Active Directory Certification Authority Web Enrollment
If you are using the Active Directory Certification Authority Web Enrollment only use the flags below.
UBUNTU CONNECTOR
sudo /usr/sbin/cloud-access-connector update --enable-sso true --sso-enrollment-url "https://servername.com" --sso-enrollment-domain "example.com" --sso-enrollment-username "username" --sso-enrollment-password "password" --sso-enrollment-certificate-template-name "Template_name" --manager-insecure --debug
ROCKY CONNECTOR
sudo /usr/local/bin/anyware-connector configure --enable-sso true --sso-enrollment-url "https://servername.com" --sso-enrollment-domain "example.com" --sso-enrollment-username "username" --sso-enrollment-password "password" --sso-enrollment-certificate-template-name "Template_name" --manager-insecure --debug
SSO Configuration for Connectors using private key and certificate of the Certification Authority
UBUNTU CONNECTOR
sudo /usr/sbin/cloud-access-connector update --enable-sso true --sso-signing-csr-ca /home/certificate.crt --sso-signing-csr-key /home/certificate.key --sso-signing-crl /home/certificate.crl --sso-enrollment-url "https://servername.com" --sso-enrollment-domain "example.com" --sso-enrollment-username "username" --sso-enrollment-password "password" --sso-enrollment-certificate-template-name "Template_name" --manager-insecure --debug
ROCKY CONNECTOR
sudo /usr/local/bin/anyware-connector configure --enable-sso true --sso-signing-csr-ca /home/certificate.crt --sso-signing-csr-key /home/certificate.key --sso-signing-crl /home/certificate.crl --sso-enrollment-url "https://servername.com" --sso-enrollment-domain "example.com" --sso-enrollment-username "username" --sso-enrollment-password "password" --sso-enrollment-certificate-template-name "Template_name" --manager-insecure --debug
How to enable self-signed certificate support For FUA feature, agent does not support self-signed certificate by default.
If your CAC is deployed with self-signed certificate, you need to enable self-signed certificate support in agent side.
a. Install agent build.
b. RDP to the agent VM. Open registry key setting, add the following registry value under
HKLM\SOFTWARE\Policies\Teradici\PCoIP\pcoip_admin_defaults Name: pcoip.enable_authentication_broker_unsigned_cert Type: DWORD Data: 1
Common Installation Errors.
For --sso-enrollment-url use https instead of http

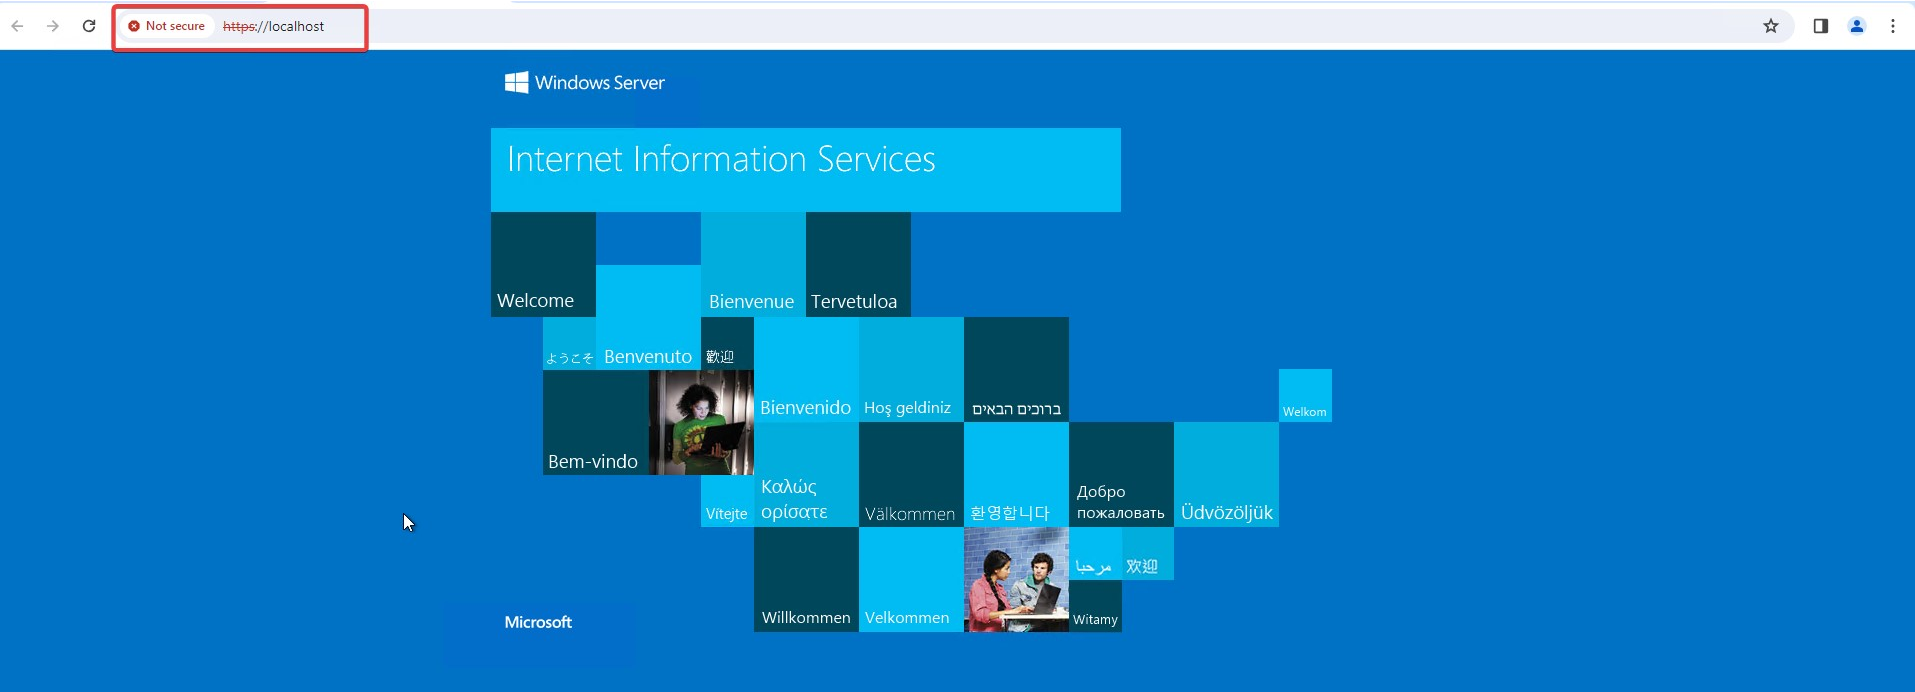
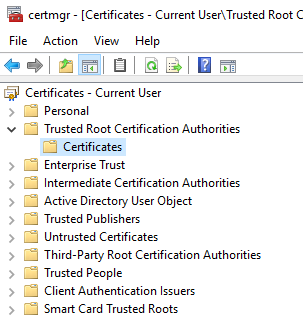
Make sure your SSL is in the Trusted Root Certification Authorities
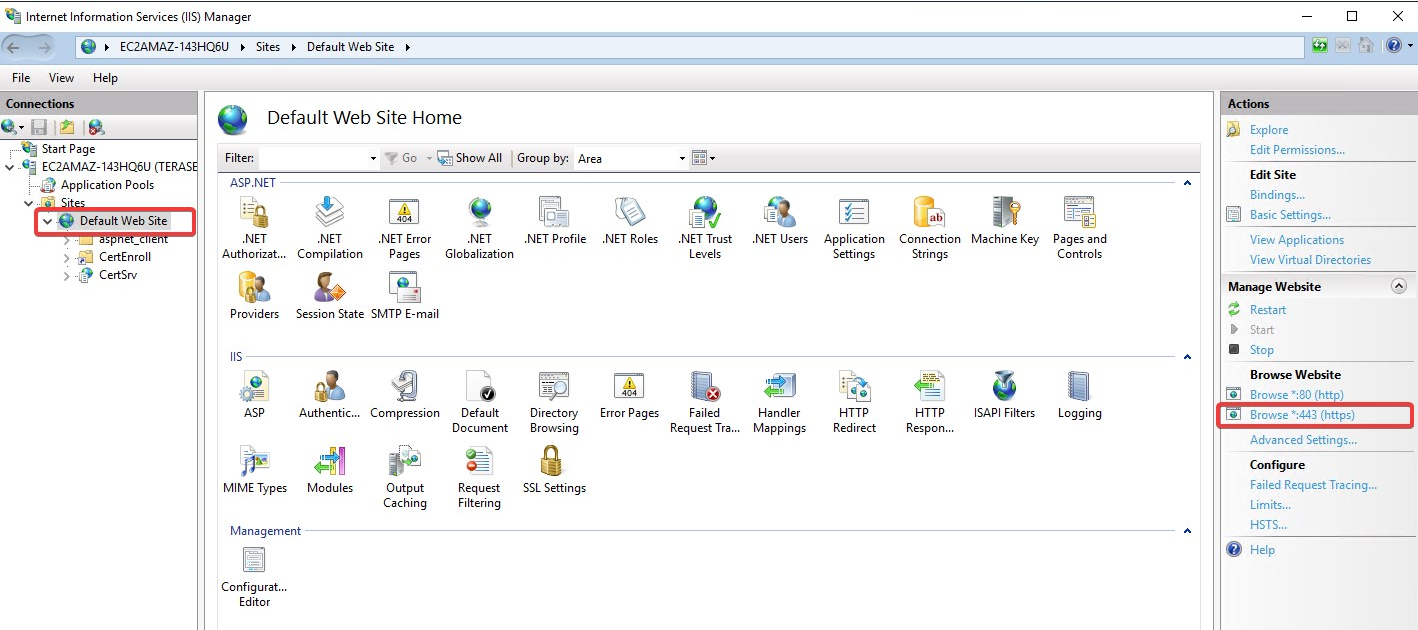
Add your server to the IIS Manager as per the screenshot below.
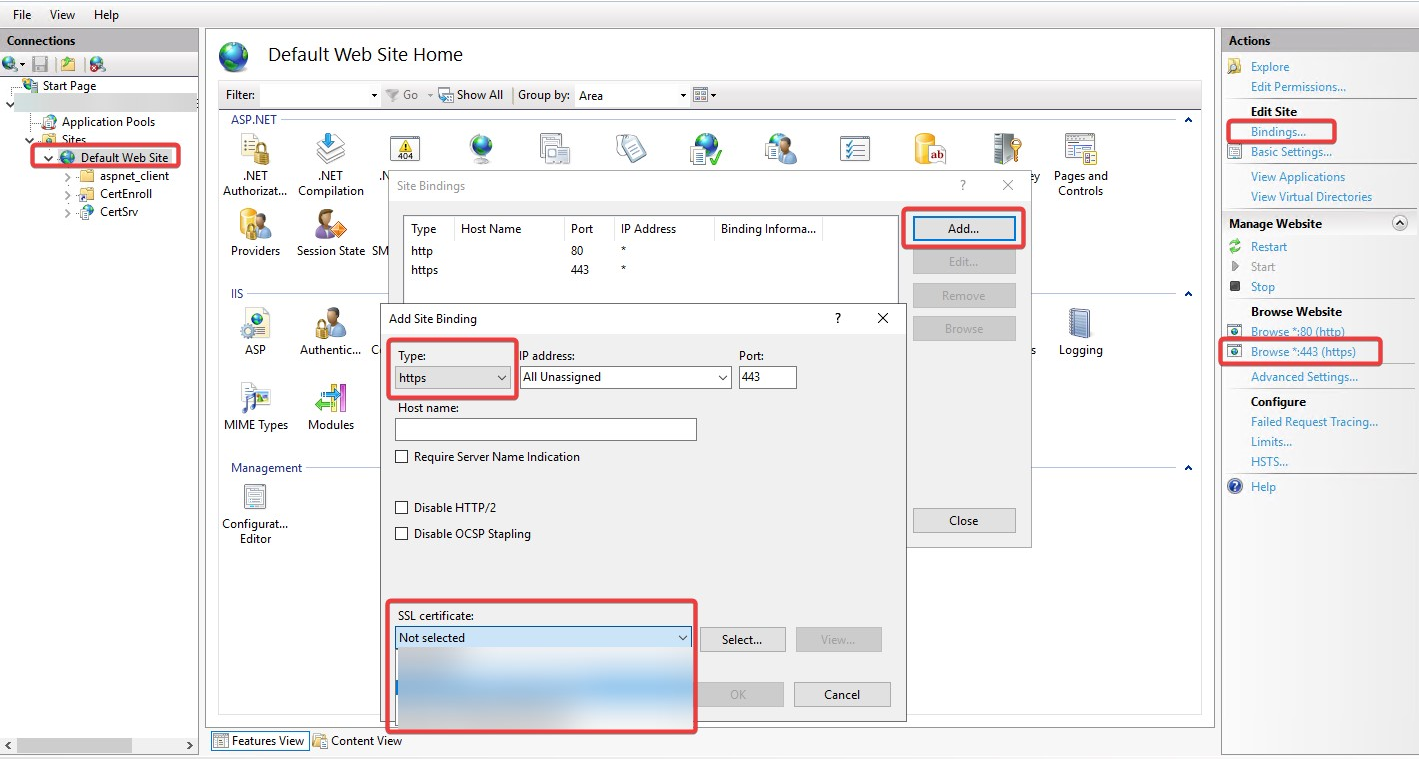
Click on Binding.
Add server to HTTPS.
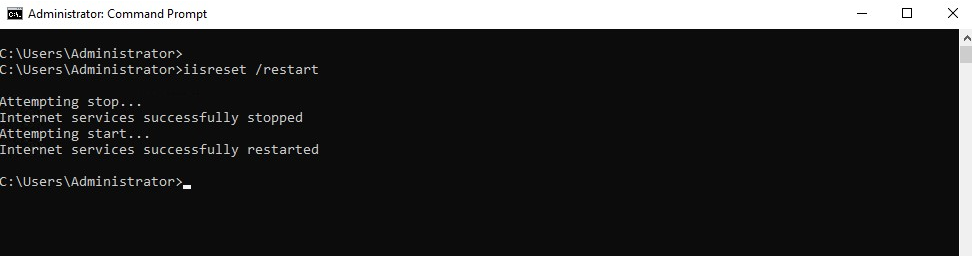
Restart Internet Information Services Manager using CMD